![Route Compact.png]](https://44031258.hs-sites.com/hs-fs/hubfs/Route%20Compact.png?height=40&name=Route%20Compact.png)
Creating a Proposal on the Route web app
You have to start from somewhere - let's take the first step together! There are 3 ways to create a Proposal but we always recommend you create a Proposal from a completed Walkthrough for increased accuracy. Creating a Proposal from a Walkthrough automatically carries over the Services you selected, the square footage, and the fixture counts.
Creating a Proposal from an Estimate
Let's start creating a Proposal from an Estimate!
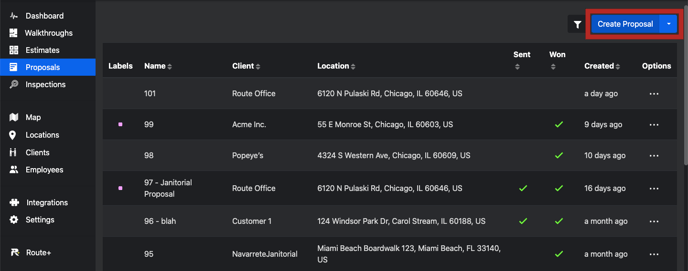
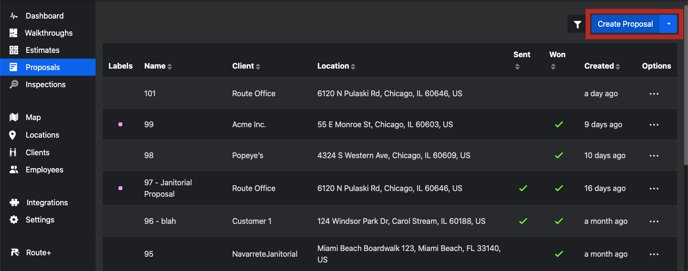
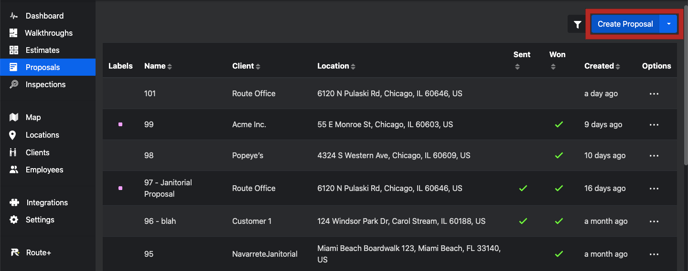
First, select on “create proposal” . In the upper right corner, click Create Proposal.
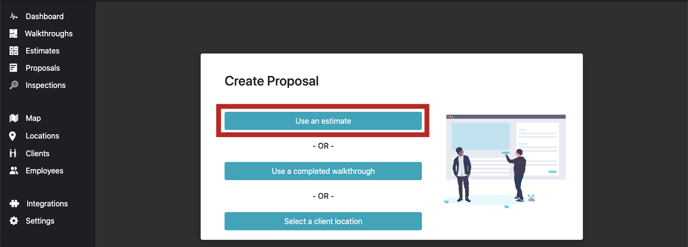
Next, select the option that says "Use an estimate”
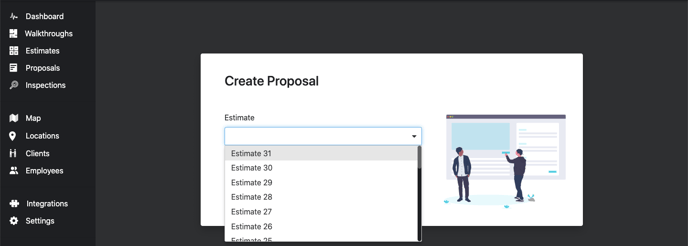
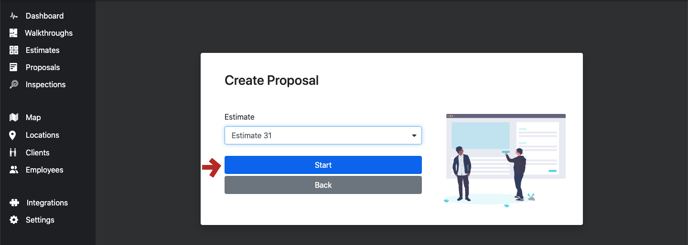
In the next step, you will be able to select from the estimates that you've already made in the past and select the one that best fits your needs. Once you have selected the correct estimate, click the "start" button.
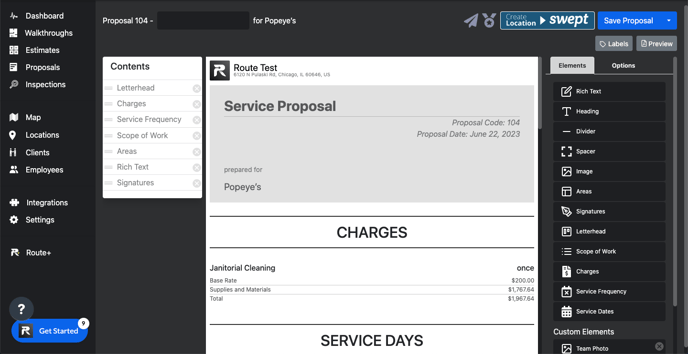
Once the proposal has been created, you can choose between the "Blank" "Standard Proposal" "Scope of Work Doc" options to continue. The most convenient thing is always to select the "Standard Proposal" button because it comes with the "service proposal" "charges" "scope of work" "Services days" "Signature” If you want to add more services, you can do it.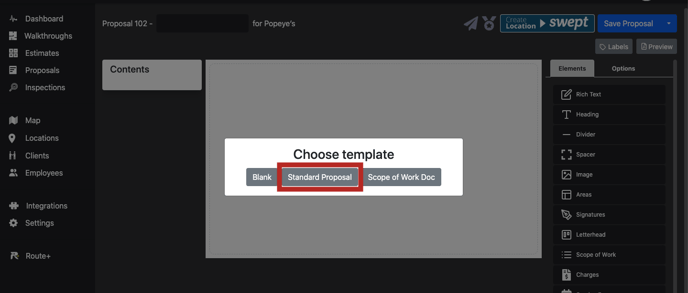
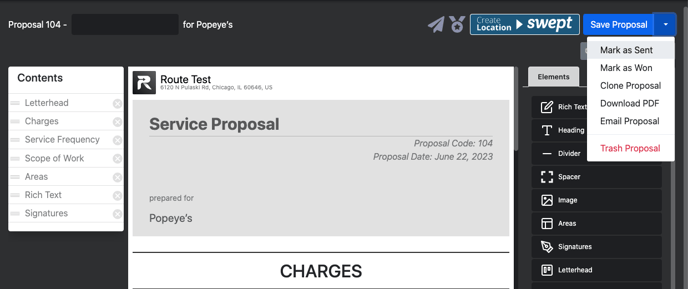
Your proposal can be saved after you have viewed, added, and verified that it is correct. Alternatively, you can mark the proposal as sent, mark it as won, clone it, download it on pdf, send it by email, or trash it.
Creating a Proposal from a Walkthrough
From a complete walkthrough, we will create a proposal. In the same way as when creating a proposal from an estimate. It is necessary to click on "create proposal".
We will select "Use a completed walkthrough" to start making our proposal from a walkthrough we have already created after clicking "create proposal”.
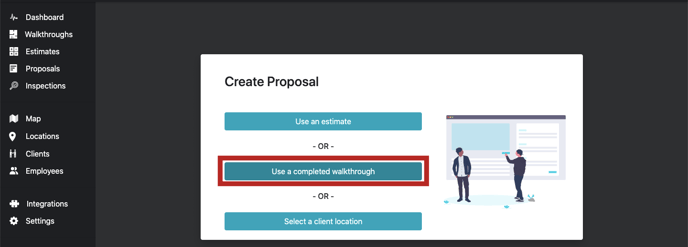
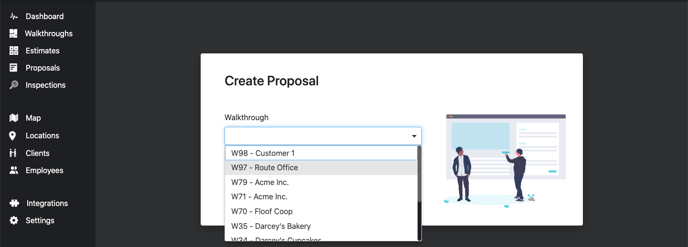
Select the walkthrough that best fits the proposal you are creating. It must be a walkthrough you have completed before.
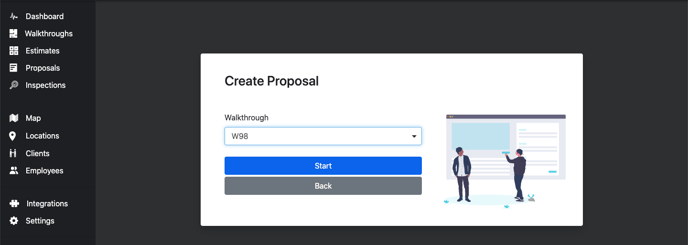
Once we have selected it, we click on “start” and we will be taken to the next step. Our recommendation is that it be a “standard proposal”, but it will also depend on what best fits your proposal. This is where we can choose between "blank", "standard proposal", and "scope of work doc”.
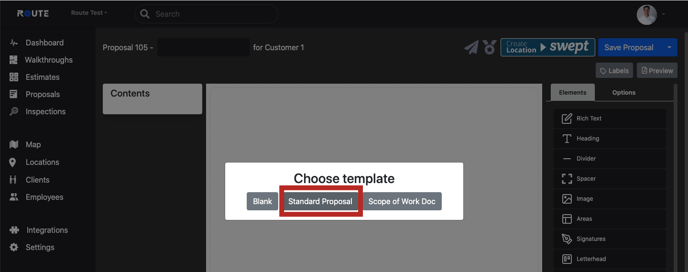
As soon as you have selected the option that best suits your proposal. You can edit it as necessary to be able to send it. Save it, clone it, etc.
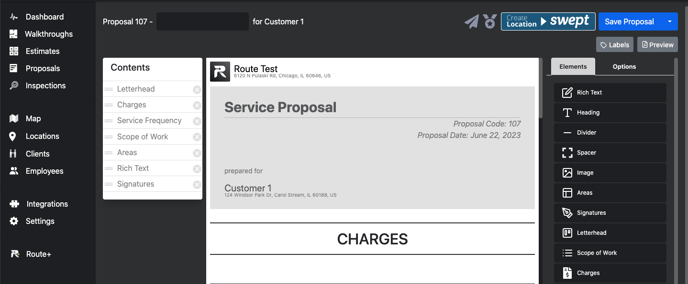
Aside from saving it, you can also mark it as won, as sent, clone it, download it, send it by email, and sign it.
The next step is to create it from the client’s location
Creating a Proposal from a Client Location
Our next step is to create a proposal based on the location of the client. We will follow the same steps as we have done for the other two first steps. Click on "create proposal”.
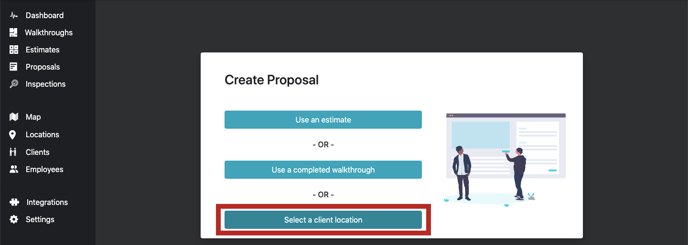
We will then click on "select a client location" to begin our proposal.
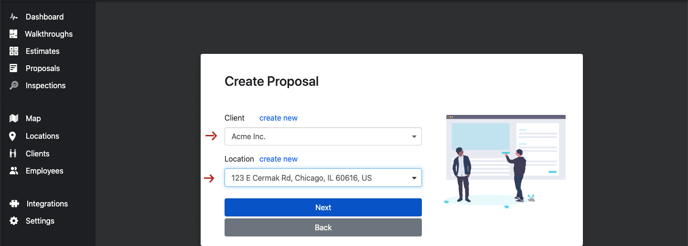
Our next step will be to select the client and the location for our proposal once we have clicked on "client location.”.
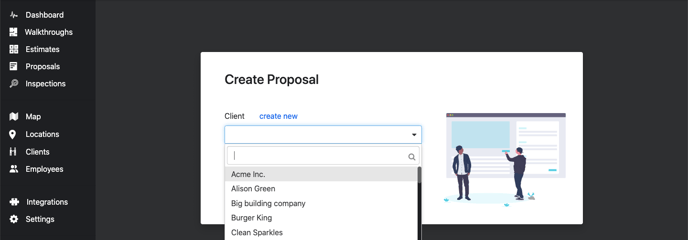
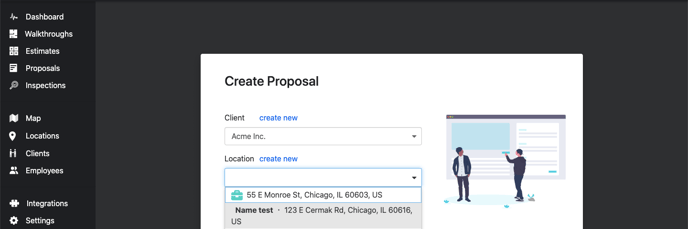
After making and selecting these two requirements, we click "next" so that from there we can choose the option that benefits us most and begin editing our proposal.
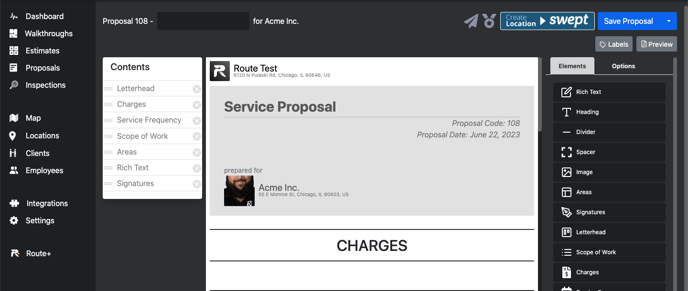
We choose the option that best suits us, in this case "standard proposal", and then we edit it as we wish. In the end, we can save, send, and mark it as won, etc.
Using these steps, you can create the proposals that best fit your company's needs. Keep in mind that there are 3 ways to generate them, and also many ways to edit them.